Build Dynamic Images
Dynamic Images give users the ability to create data-driven infographics. These infrographics can then be added to presentations and reports, where they can be configured to use data interactions from other artifacts - grids, charts, slicers and variables - to create responsive graphical displays of information that are more intuitive to understanding the underlying analysis, and are interactive for the end user.
Dynamic PQL Functions
- Click here to read about how to configure dynamic PQL functions in Illustrate
- Click here to review the dynamic PQL functions in Illustrate
Video
Build Dynamic Assets in Illustrate
Configure dynamic images and dynamic text, and add them to a Presentation.
Example: Configure the Color Property
STEP 1
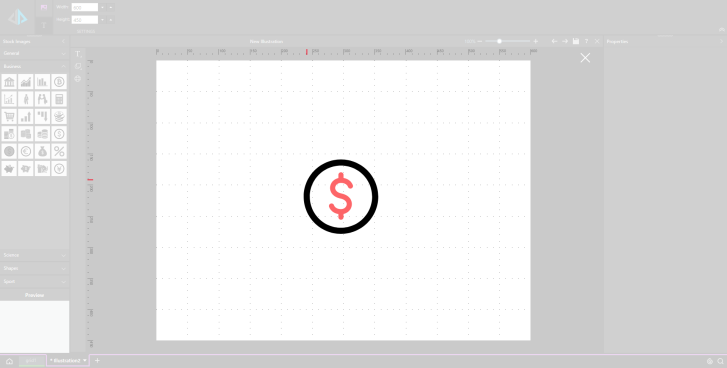
Open Illustrate, and choose an image from the Stock Images panel and drag it onto the canvas. The stock images panel is divided thematically into five different categories. Alternatively, users can their own saved images by dropping them directly onto the canvas from their folder location.
Alternatively, import your own image.
Move and resize your image as desired, holding down the shift key to maintain the aspect ratio.
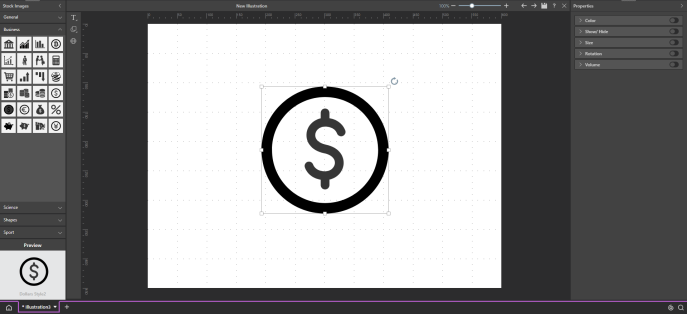
STEP 2
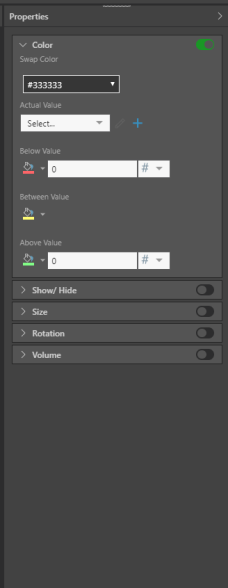
In the Properties panel on the right, enable the Color panel by selecting its slider.
NOTE: You can configure your dynamic image to change color, show or hide, change size, rotate, or change in volume, based on data values, by choosing the corresponding option in the Properties panel.
STEP 3
Click the plus sign next to Actual Value. This will open a new dialog along the bottom of the screen. From the Content panel, find and select the required grid.
From this window, you can also write expressions using the dynamic functions in the drop down lists. Click here for information about configuring dynamic functions in Illustrate.
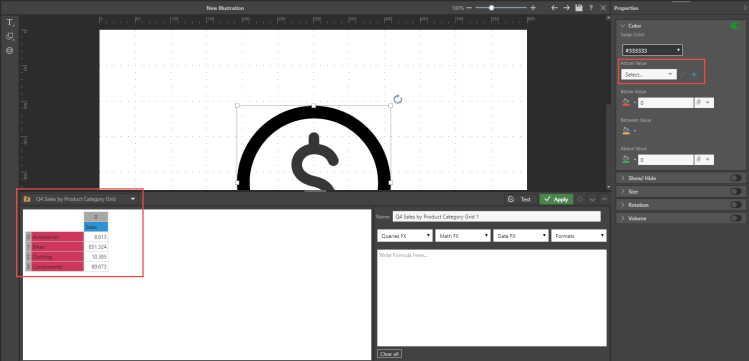
STEP 4
Select the cell containing the value that should be represented in the dynamic image. In this example, the image will be configured to provide a color indication of whether or not sales goals for accessories have been met.
Once you've made your selection, click Test to verify that the cell has been selected successfully.

STEP 5
Now, in the Color panel, write insert values into Below Value and Above Value windows.
In this example, 200 000 was written in the Below Value window, and 400 000 in the Above Value window. This means that whenever the value of accessories sales falls below $200,000, the image will be red. When the value is above $400,000, it will be green, and whenever it falls between these values the image will be yellow.
NOTE: Click the paint buckets to select different colors.

STEP 6
Next, click apply, and save your image.
To find out how to add your dynamic image to a presentation or publication, see Use Dynamic Images and Texts.